New paper out!
New paper published on self-optimizing method and software for calibration and mapping of a laser system for laser machining.
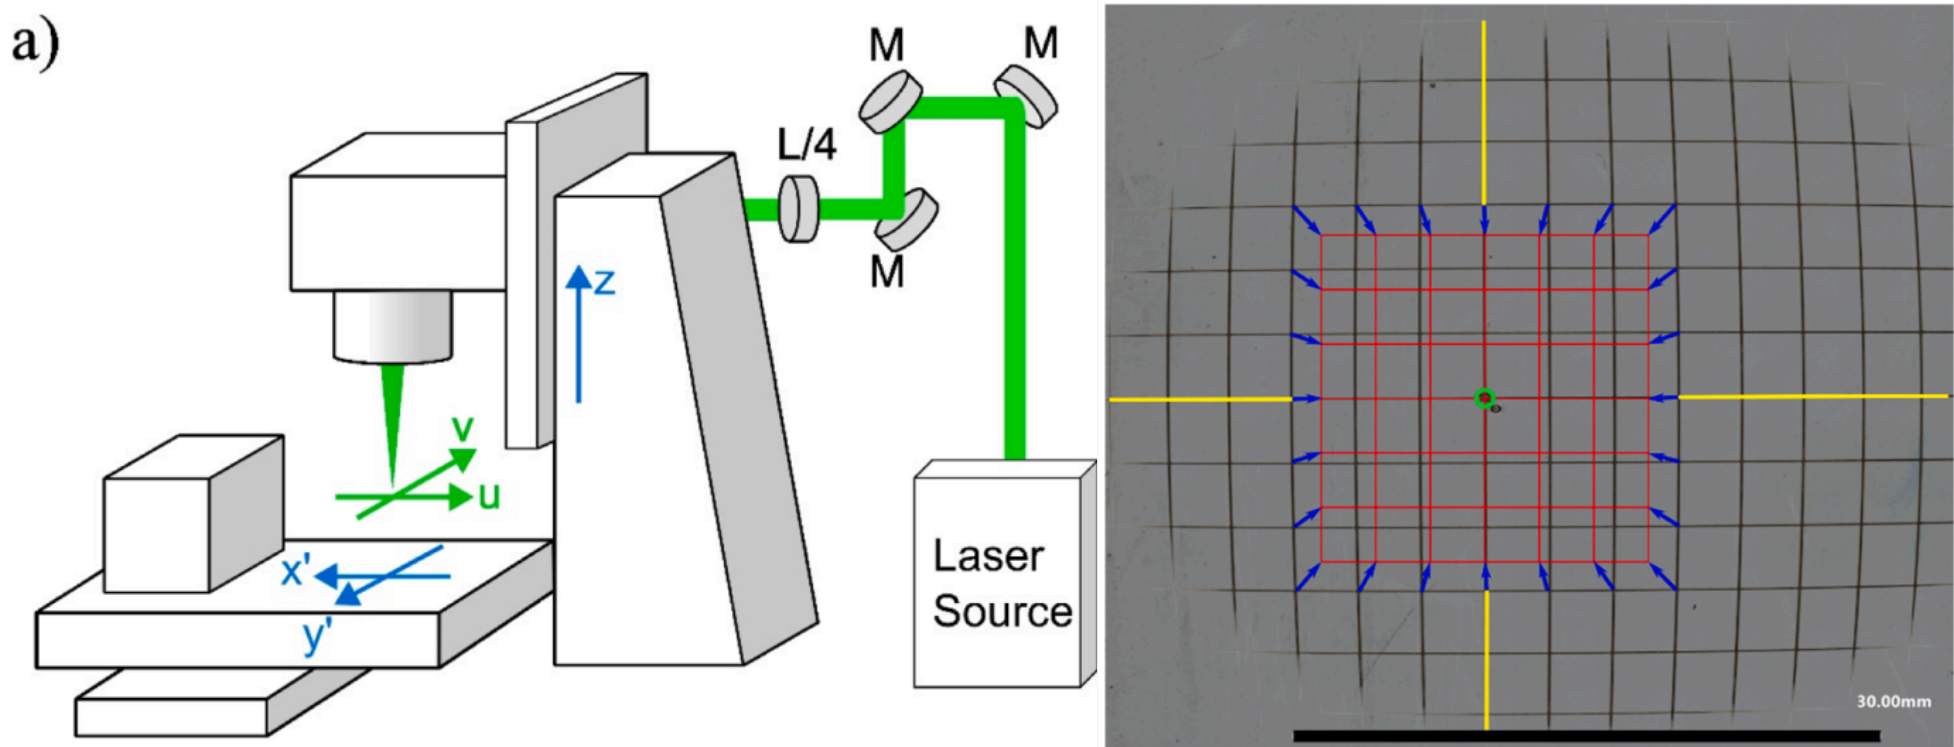
Short and ultrashort pulse lasers can ablate the vast majority of materials compared to other machining methods, making them the preferred tool in many niche applications. For the use in precision machining, such laser systems need to reach machining accuracy in the range of 1 µm. Usually, a galvanometric scanner is used in such laser systems to scan the laser beam across the scan field to mark or ablate the various materials. To achieve high accuracy, the overall laser system must be calibrated. However, such calibration is time-consuming and must be monitored at regular intervals and repeated if necessary. In this paper, a method and routine are introduced for self-optimizing calibration, monitoring and recalibration of a laser system. After calibration, the maximal deviation error of the laser system is 3.9 µm within the 30 mm x 20 mm scan field, and the optical axes are capable to match the positioning accuracy of the mechanical axes at 1.11 µm. A beam profiling camera is used to measure the beam position needed for calibration within the scan field. At the same, time other properties of the laser beam such as peak intensity, spot size and ellipticity are mapped within the scan field and is then used as a tool fingerprint of the laser beam across the scan field. Based on this, the influence of the position-dependent beam properties on the removal rate and surface quality is determined.
Link to the paper: external page https://doi.org/10.1016/j.optlaseng.2024.108245

